Super Meat Boy Bandage Guide: World Four
Pictures by Jackie Lee
Hello and welcome, fans of old school gaming, to XBLA Fans’ Super Meat Boy Bandage Guide. Getting all the bandages in Super Meat Boy will unlock some secret characters and serve as undeniable proof of your platforming prowess. This guide will help you find whatever bandages you’ve missed, or tell you how to get that one you can’t seem to reach.
Need help on a different world? Check out our other guides:
Super Meat Boy Bandage Guide: World One
Super Meat Boy Bandage Guide: World Two
Super Meat Boy Bandage Guide: World Three
Super Meat Boy Bandage Guide: World Four
Super Meat Boy Bandage Guide: World Five
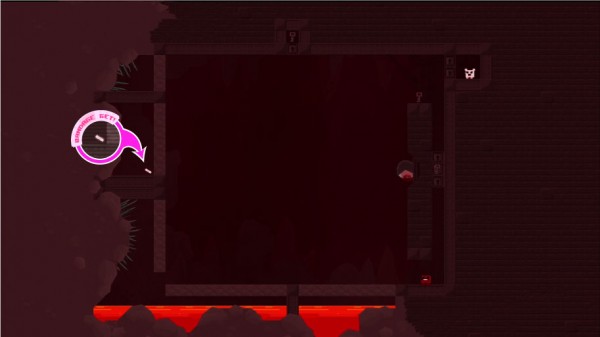
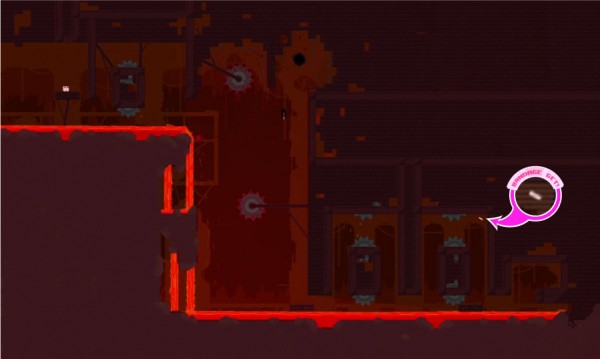
4-2: Brindle
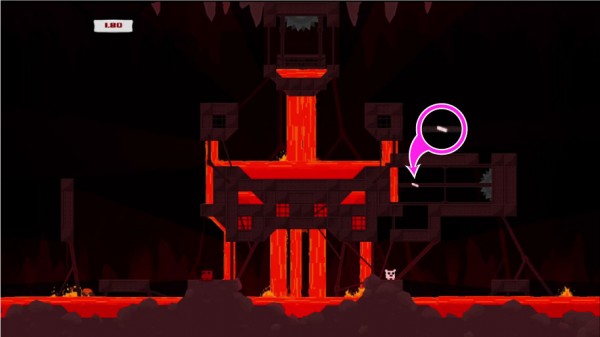
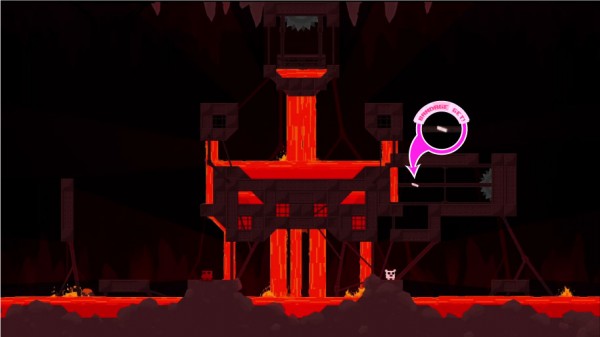
This is a pretty easy bandage that’s only slightly hidden by the hanging stalactites. Just wall jump up and grab it. When you go to wall jump over to the next platform, just make sure you don’t jump from the wall adjacent to the bandage: drop down to the one below or you’ll hit your head on the ceiling and fall into the lava.
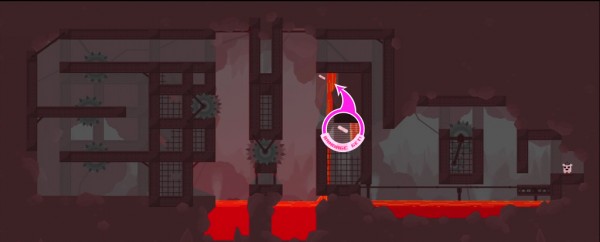
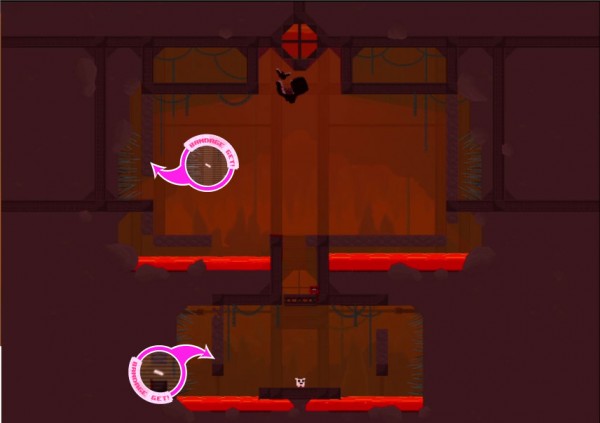
4-6: Leviathan
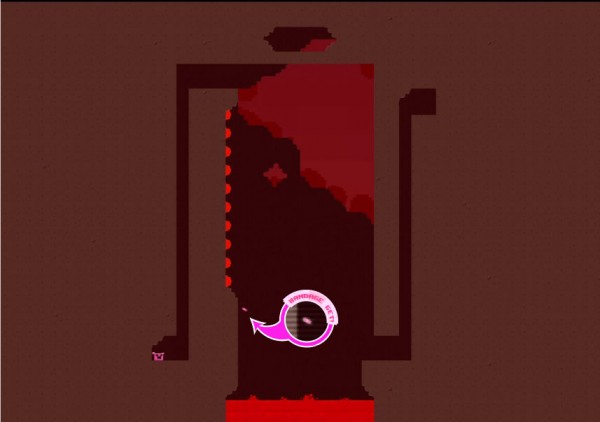
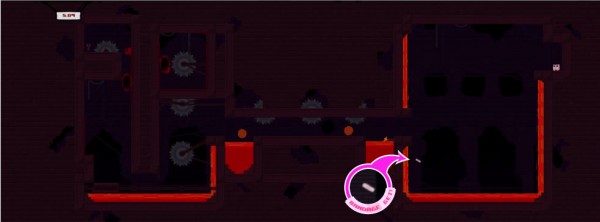
You won’t have enough time to drop into this chamber from above and snag the bandage. Once you drop down, run over to the thin passage above Bandage Girl to avoid the saw. Once it’s past you, make a short hop up to the bandage.
Warp Zone: Brimstone 2
You can find the warp to Brimstone in 4-8: Wiebe. It’s hidden in the ceiling just below Bandage Girl, in the grey patch. Getting the bandage in the second level is actually easier than not getting it. All you have to do is just jump between two fireballs. Jump before the lowest fireballs start shooting again so you only have to weave between two. Once you’ve gotten the bandage, just climb up the left wall: the fireballs can’t actually hurt until they’re ready to pop out, so climbing up the left wall is significantly easier than climbing up the right.
Warp Zone: Brimstone 3
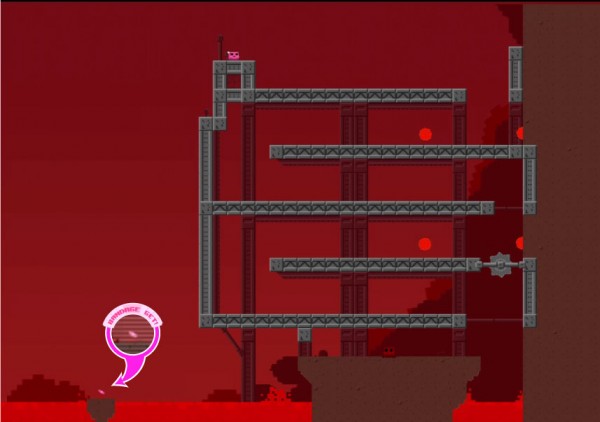
Normally this bandage just requires beating the level twice: get to the top, jump over Bandage Girl, get the bandage, then beat the level again. You can, however, just jump out to the bandage platform from where you start. This isn’t the most viable route, however, since it’s hard to make the jump in the first place and even tougher to land it.
4-9: Deceiver
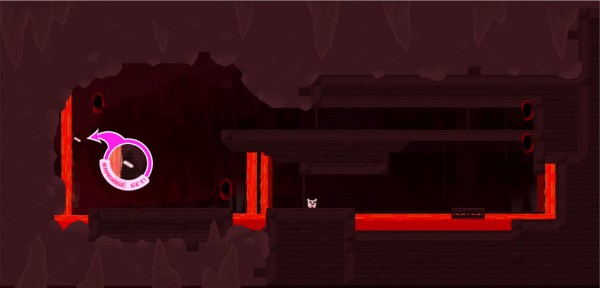
As long as you get a hang of how the portals work, this bandage isn’t bad. Walk slightly to the right of the lower portal and jump into it. Angle yourself slightly towards the left as you fall. If you’re having trouble not flying directly into the lava, try using Jill.
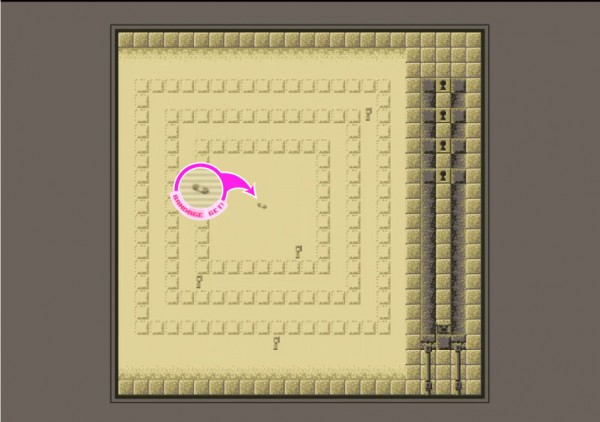
4-13: Lazy
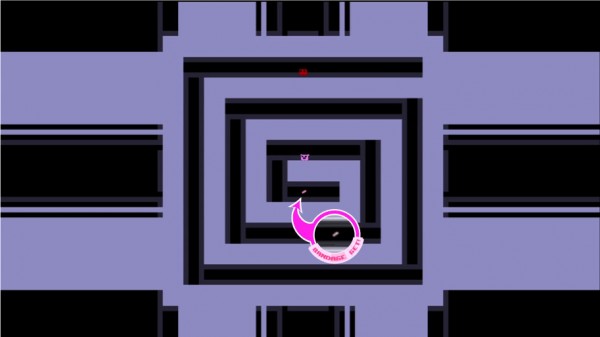
The trick here is to go counterclockwise once you get the keys. On your first pass around the room, make sure you collapse the sand blocks near the top and bottom of the bandage alcove. Once you get the first key, go back the way you came, enter through the top hole, grab the bandage, and exit through the bottom hole.
Warp Zone: The Key Master 2
This warp zone is found in the ceiling of 4-14: Adversary, just before the eye. The bandage in the second level just requires some careful jumping. You need to make sure you’re wall jumping from the bottom portion of the wall, so that the bandage is just at the height of your jump. You want to minimize the amount of time you’re falling: if you let yourself accelerate too fast, you won’t be able to hit the wall with enough time to jump back up.
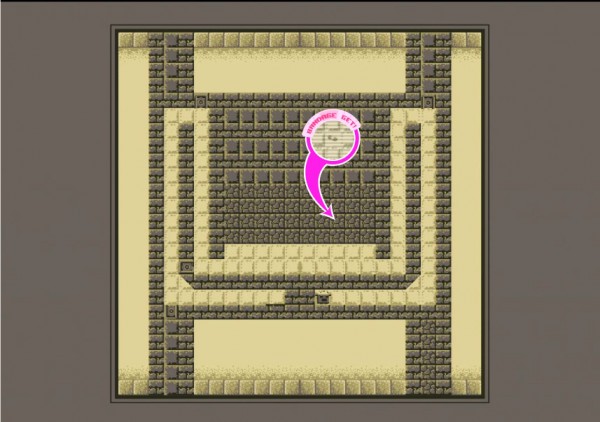
Warp Zone: The Key Master 3
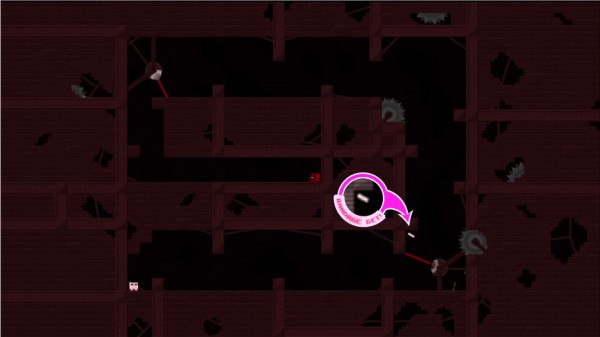
This bandage is hidden in the sandstone in the center of the level. Time your jumps so each one lets you hop over a saw.
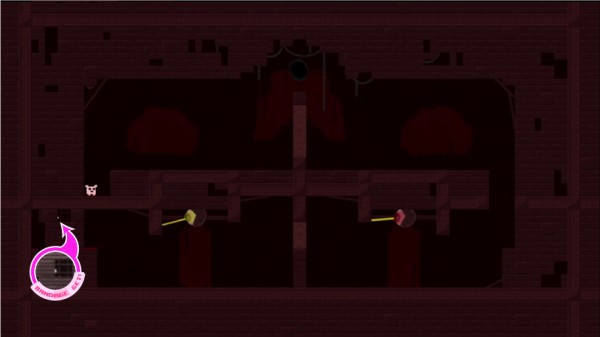
4-16: Bow
Bow is another endurance level. You have to go through the level, hit the button in the top left corner, go back to the beginning to grab the partially obscured bandage, then turn back around again to tag Bandage Girl.
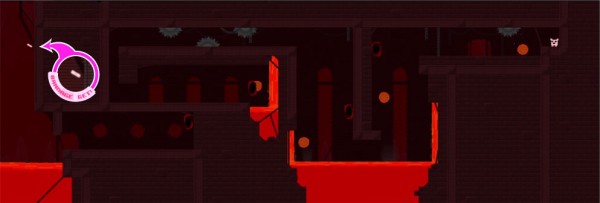
4-17: Lost Highway
While it’s possible to get to this bandage using Meat Boy, getting back with it is pretty much impossible. We’d recommend using Flywrench or a double jumper to get the bandage and get back safely.

4-20: Babylon
There’s no trick to this bandage other than “don’t get hit.” Wall jump over to it and collect it while dodging the mouth projectiles and their mouth projectiles.
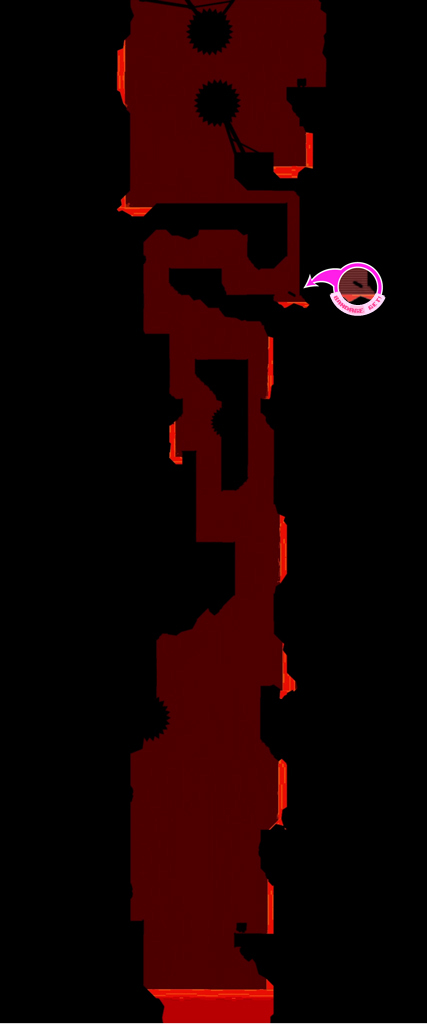
4-3X: Char
Don’t try to grab this bandage as you climb the level. Make it up to bandage girl and you’ll see the lava stop and slowly creep back downwards. Just wait for the lava to retreat below the bandage and then safely wall slide down to it.
4-4X: Altered
Another surprisingly straight-forward bandage. Either carefully jump to the lip right below the bandage with Meat Boy, or use one of the characters with slightly more air control (Jill, Commander Video, Ogmo, etc. It might help to wall jump from the left wall and slide up the right one, so that you just barely pop over the lip.
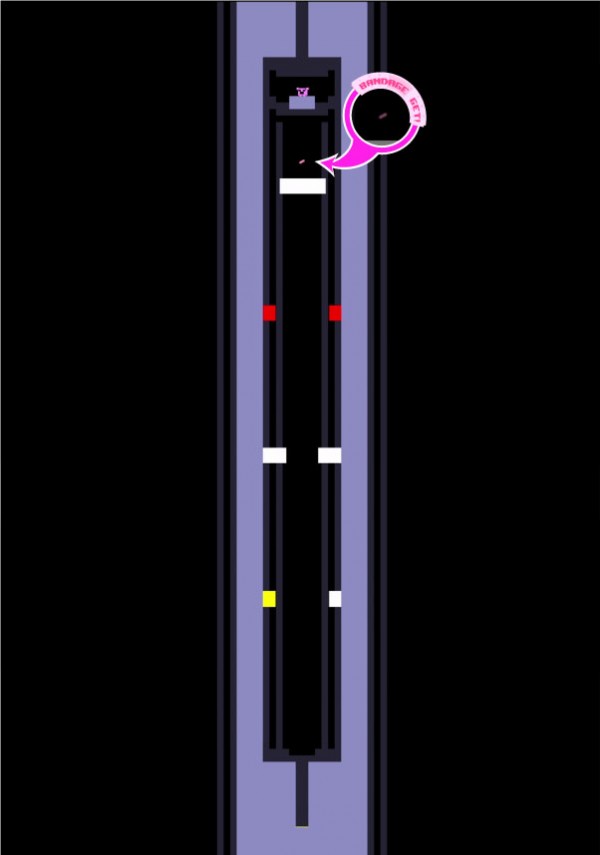
Warp Zone: MMMMMM 2
This warp zone requires some precision Commander Video hovering in 4-7x: Thistle. The first bandage in this warp is the tougher of the two, but it still isn’t bad. Just hurry your way up the shaft until you get to the bandage, then slide down the wall so you can jump over and grab it.
Warp Zone: MMMMMM 3
This bandage is strangely easy. There’s no tricks, traps, or any real danger involved here. In fact, your only real obstacle is Bandage Girl. Just jump over here and casually stroll over to your bandage.
4-8X: Billy Boy
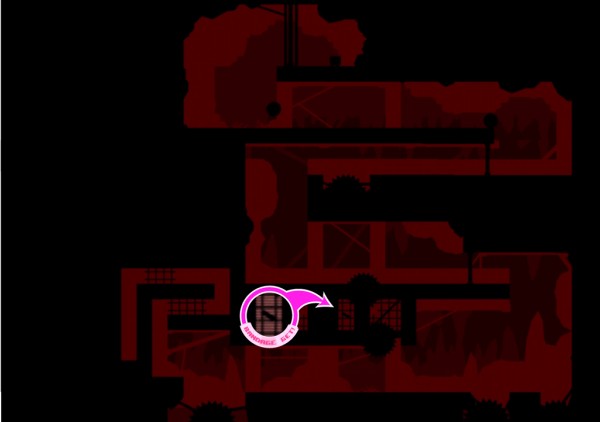
Time for another semi-hidden bandage. This one is located in the cage at the bottom of the screen, between the two saws. You have to dodge the saws inside the cage, but overall, it’s not a terribly complicated bandage to grab.
4-10X: Gallow
This bandage requires using either Flywrench or The Kid, since the vertical distance to the bandage is a bit out of Ogmo’s range. This one is easier to get with The Kid, especially if you’re not used to controlling Flywrench.
4-14X: Old Scratch
To get this bandage, you’ll have to stand on the second platform above the eye—the one on the right—and fall down to the left. From here you can run to the right and wall jump up to the bandage. The laser will tag you if you run to Bandage Girl from this position, however: you’ll need to go around the eye clockwise in order to make it. To do this, just wall jump up to the lowest platform, the one on the left side of the shaft. Once the laser is under you, you can safely continue down and around the eye.
4-18X: Sag Chamber
This bandage requires patience. It’s nigh impossible to grab it outright, but the platform will eventually loop back around. Just keep wall jumping until it returns and try to not get hit by all the projectiles that’ll be flying around.
4-19X: Long Goodbye
This level actually has two bandages, but only one will count towards your total. Both are located in the sand blocks on the left: one is in the top half of the level and one is in the bottom half. The one in the bottom half is probably a bit easier to get, since you won’t have to dodge projectiles while you’re doing it.

