
Super Meat Boy Bandage Guide: World Five

Pictures by Jackie Lee
Hello and welcome, fans of old school gaming, to XBLA Fans’ Super Meat Boy Bandage Guide. Getting all the bandages in Super Meat Boy will unlock some secret characters and serve as undeniable proof of your platforming prowess. This guide will help you find whatever bandages you’ve missed, or tell you how to get that one you can’t seem to reach.
Need help on a different world? Check out our other guides:
Super Meat Boy Bandage Guide: World One
Super Meat Boy Bandage Guide: World Two
Super Meat Boy Bandage Guide: World Three
Super Meat Boy Bandage Guide: World Four
Super Meat Boy Bandage Guide: World Five

Warp Zone: The Skyscraper 2
The first bandage in Chapter 5 is another “beat the level twice” bandage. The key near Bandage Girl will unlock the way to the bandage, which is back at the beginning of the level.

Warp Zone: The Skyscraper 3
As long as you’re careful, this bandage shouldn’t be bad. Just carefully hop up and get it.

5-3: Ripe Decay
As you’re transferring between the two magnets, land on the platform between them. Once you’ve landed, just jump towards the rightmost aiming for just above the magnet. Since the closer you get to the magnet, the stronger its repulsive force is, you should get repulsed with enough force to send you up and over the saw.

5-5: Panic Switch
For this bandage, don’t hit the titular switch at the start. Jump up the wall on the right and then wall jump off to the left to grab the bandage (make sure you hold run).

5-9: Abomination
This bandage is hidden in the tower in front of your spawn. Climb up the wall and slide down until you disappear into the wall. The bandage is completely hidden from view, along the ground between the two saws.

5-12: 10 Horns
This bandage is in the pit before bandage girl, towards the bottom. Since you have to fall a fair vertical distance before making it back to solid ground, you’ll have to use The Kid or Flywrench to get this one.

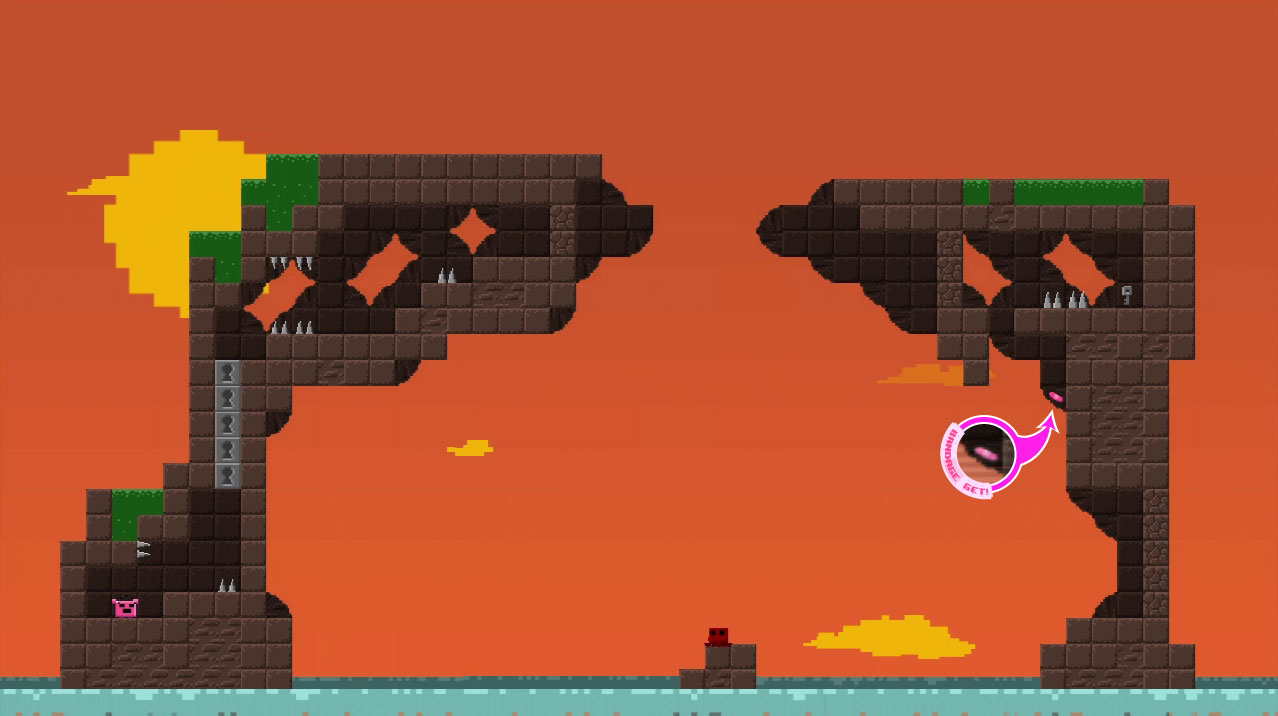
Warp Zone: Sunshine Island 1
Use the kid or flywrench in 5-12: 10 Horns to jump on top of the island just above where you start. To get this bandage just make a running jump from the start, aiming for right below the saw. Then just quickly wall jump up and around the saw and you should get the bandage. Otherwise you can just wall jump up the right side as per usual. You should be able to running jump out over the saw, grab the bandage, and be able to fall back on the platform where you started. Don’t make a crazy one-way jump off the platform, because the trek back is annoying.

Warp Zone: Sunshine Island 1-3
There isn’t too much of a trick for this bandage. You can either get to it by going around the top, then sliding down the shaft when you snag the key, or you can just wall jump off the sand blocks underneath the bandage. If you try the latter route, hold run as you make your wall jump and don’t press right until you’ve cleared the lip above you. Once you have the bandage, make sure you don’t try to clear the gap from within your little alcove: slip down the wall outside and wall jump across the chasm. If you don’t, you’ll hit your head and won’t get the distance you need.

5-16: Rotgut
This level in general is crazy easy with The Kid or Flywrench, because both can jump through the two magnets to the left of Bandage Girl. On your way through, make sure you grab the bandage.

5-18: Gate of Ludd
Use Jill for this bandage. Climb up the left wall and wall jump from above the saw: that should give you enough height to grab the bandage. From here you can use Jill’s air brakes to easily hover on one of the magnets while you wait for the lock blocks to open.

5-20: Judgement
This bandage looks downright impossible to get at first. The slight trick here is to approach the bandage from the left. As soon as the blocks start to disappear, hop down to the bandage and back out again. Make sure you run, or else the inhabitants of the bandage pit will blow you up.

5-4X: Alabaster
This bandage is located towards the base of Bandage Girl’s tower. just slip down between the saw and the wall and it’s not difficult to pick it up. When you’re wall jumping back to the right, however, make sure you jump well under the magnet: if you wall jump into its field, it’ll spike you down into the pit.

5-5X: Nix
While you have to be quick to get this bandage, it isn’t too bad. It’s actually right below where you spawn. Hit the switch and wait for the bridge to disappear. As soon as you can, fall below the bridge and hang right—there are saws to the left. Once you get the bandage, hurry back up before the bridge reappears.

5-8X: Downer
This bandage is ridiculously hard to get unless you’re very, very familiar with dodging all the saws. Unfortunately, the bandage is is in an area of particularly high saw density. Make sure to stay towards the center of the screen as you approach to make sure you have the time necessary to grab it.

5-10X: Pulp Factory
It’s pretty obvious what you have to do to get this bandage—collecting all four keys—but executing the plan is a bit tricky. The Kid is probably best suited for this level, since he can spend so much time hovering in the key drop zone. As you’re catching keys, be sure to lure any and all explosive jerks into the pit so they don’t swarm you. If you miss a key, be aware you can catch it as it bounces off the floor.

5-11X: Blight
Like the above bandage, this one is significantly easier with The Kid. With the Kid you can run, hit the first button, jump towards the magnet, and use your second jump to hit the second button. You should have enough height to make it up and around to Bandage Girl in record time. Jump over her and drop down the hole to the right. You’ll fall into the little room with the bandage and a few bad guys. Since they’ll be running into the wall trying to get you, you can just run forward and fall over their heads and onto the bandage. Once you’ve gotten the bandage, jump off the left wall and head back through your hidden entryway. There’s a button there that re-opens the way to Bandage Girl.

5-17X: Millennium
This bandage requires some artillery. The bandage itself is in the ground, betwen the second two 4-way cannons and just before the button. What you want to do is stand between the rightmost 4-way cannon and the button enclosure. Then wall jump off the enclosure to make the missile launcher off to the right shoot at you. Try to land right between the 4-way cannon and the button enclosure. If you do, the missile’s soft homing should cause it to slam into the ground right where you want it to. Once the blocks are out of the way, the bandage is an easy pick-up.

5-18X: Stain
This level is a bit insane because there’s so much to pay attention to. Fortunately, getting the bandage will also let you sneak an easy win. Get the key and then head to the lower left corner. As the saws rise, so will the bandage: it’s to the left of the saw line. If you stand in the bottom left corner, not only will you dodge the rising saws and have a safe place to stand while the lock blocks disappear, but the bandage will deliver itself to you. You won’t even have to move. What a great day.

Warp Zone: Meat is Death 1
The last two bandages in Rapture are fan puzzles. For the first level in thsi warp zone, let the fan blow you up the wall to the left of the bandage. As you ride up the wall, jump across to get the bandage.

Warp Zone: Meat is Death 2
This easy bandage will finish off your Rapture set. As with magnets, jumping in close to the fan will propel you higher. Just hop onto the fan, hold run, and aim for the bandage. If you mess up, the platform where you spawn doubles as a safe landing pad.