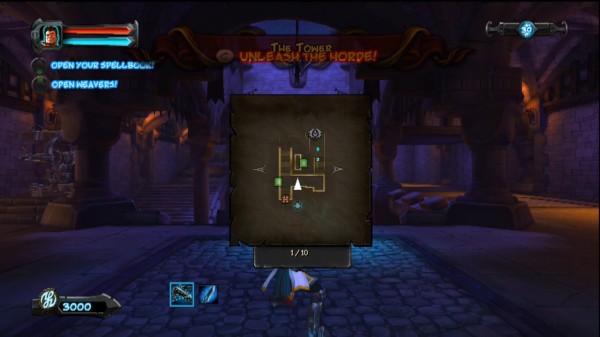
Orcs Must Die!: The Tower (Level 15)
New weapon
Brimstone – Sets enemies that pass over it on fire for a short time. It’ll usually take out any basic Orcs that pass over it, and will eventually become a staple in each level’s floor plan.
Enemies
Orc Warriors
Crossbow Orcs
Kobold Runners
Ogres
General survival skills
- To make long-term use out of Push traps, use the Steel Weaver
- Watch out for orcs landing on the middle platform, they’ll be stuck there and if there are archers there, they’ll probably kill them all
- The log traps can only be used once, don’t waste them
- Wall traps are the way to go here, make sure to have the ones you pick upgraded
- Don’t let the ogres get all the way to the top without having ice amulet for defense
Five skull guide
This level has entrances, a massive lava bit in the center, a couple log traps and a ballista turret. Considering it’s a spiral staircase, there are very key points to do damage during before having to let enemies travel along the steps where traps can’t be placed. The first set of waves before the second door opens are incredibly simple, use push traps along the first wall after the first staircase combined with tar traps (to ensure a minimal amount of Orcs pass through the pushers) and clean up any orcs that don’t land in the lava down below. In the interest of getting five skulls, however, this is one of the few levels where going full weapons and slow down/choke point strategies will work best. That means going Elemental Weaver, bringing all the weapons, and using tar and push traps combined with barricades to ensure lightning clouds and fire blasts will hit the maximum amount of enemies.
That being said, be careful during the last five waves. The Ogre-sprees likely won’t make it to the rift (might want to tar the entrance to the rift, or if there’s room in the spellbook bring Paladins to stall them) but the threat they pose costs rift points all the same; death. Remember dying costs five rift points (one skull) so be careful not to get stunned with with a two-ogre combo as death is very likely to be the result of that. Use the ice on ogres and finish them off with headshots. Lightning clouds at the second door at the beginning of every round are great, but Kobolds will be the real jerk here so don’t skimp on the tar traps. The first round should be easy enough to manage without traps, so max out the Elemental Weaver early on.
From there, don’t die, cause traffic jams, and use Paladins as a failsafe. Other empty spots (or if the wind belt doesn’t make it in, as it’s the least necessary) can be filled with expensive, powerful traps or decoys. Save your logs for waves 9 and 10, be sure to watch for their spawn and each skull will be yours.
*note: This tactic is advised due to time constraints, this level is long and using push traps with archers is very, very effective, but slow. This tactic will not reward a very high score, just the five skulls.
Waves
- Orrrrcs!
- Mooorrcs!
- Crossbow Orcs & Orcs
- (A) Orcs, Kobold Runners, Orcs (B) Shield Orcs
- (A) 1x Ogre & Orcs, Orcs (B) Shield Orcs, Orcs
- (A) Kobold Runners & 1x Ogre, 2x Ogre, Crossbow Orcs & 2x Ogre (B) Crossbow OrcsGo Break
- (A) 3x Ogre, Orcs
- (A) 3x Ogre, (B) Shield Orcs & Orcs
- (A) Kobold Runners, 2x Ogres & Shield Orcs, 2x Ogres, 3x Ogres (B) Shield Orcs, Crossbow Orcs
- (A) Kobold Runners, 1x Ogre & Kobolds, 3x Ogres (B) Shield Orcs, 1x Ogre & Orcs
Go Break

