
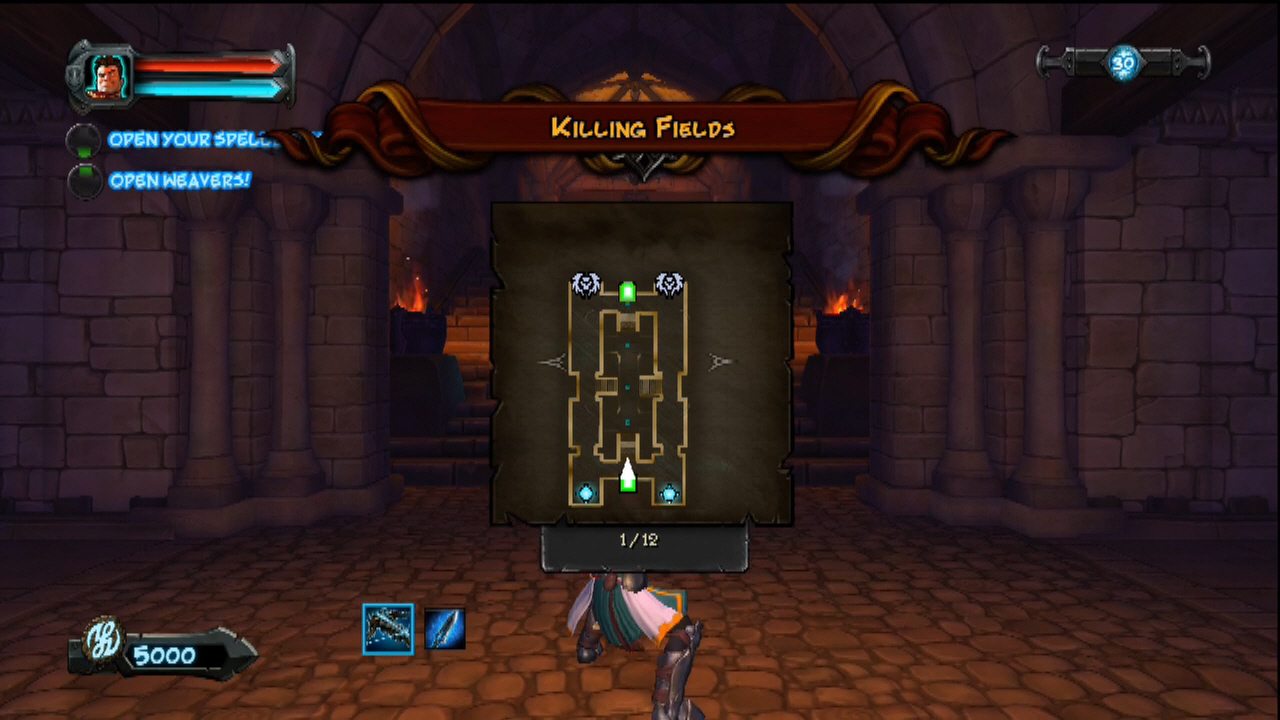
Orcs Must Die!: Killing Fields (Level 18)

New weapon
Decoy – Draws enemies in to take damage until it explodes, but it can only handle so many attackers before they’ll start ignoring it.
Enemies
Orc Warriors
Crossbow Orcs
Kobold Runners
Kobold Sappers
Fire Ogres
Armored Ogres
Gnoll Hunters
General survival skills
- Take care of all the enemies with spells and weapons until a path has been secured
- When building the desired path, remember that enemies will use the stairs if able
- Watch for the Kobold Sappers in the last two waves
- Bring a weapon or two (ice is good) to help deal with Gnoll Hunters, as they’ll quickly lead to death
- Make profuse use of the ceilings for ceiling traps
Five skull guide
This map can be incredibly difficult if not properly managed due to the wide side lanes and the raised center lane. As such, there are several ways to tackle the stage, but we’re just going to put in the easiest to win with, which focuses on, as usual, shrinking the lane as much as possible. By default, the narrowest lane is the center lane, luckily it has the most cover as well and really shrinks down in the middle. That means bring the works (spike, tar, brimstone, blockade), ice for the gnoll hunters and something to deal damage with (fire/lightning), and a ceiling and wall trap of choice along with the autoballista. Yes this setup is more specific than the last, and there’s a reason for that. The beginning of the level will consist of setting up blockades at the front entrance of each lane (two blockades per), then block off the center stairs at the top (two per side, totaling eight blockades) to ensure that the enemies are forced to run down the center lane.
Really basic setup will be required in the beginning here, focusing on getting some big damage dealers (wall/ceiling traps) up at the first overhang in the center lane combined with tar traps. Later the full brimstone -> tar -> spike trap sequence should be employed. Get the Oiled Gears to keep the wall/ceiling traps active, then hold off on the Jagged Steel until the third or fourth round. The first section should be split down the center with two blockades down the center and wall traps on either side. This fits a vertical swinging mace on either side with one at the exit of the covered area perfectly (should make a “U” shape). That’s really all that’s necessary at this point assuming there are wall traps, ceiling traps, and full a full BTS (brimstone tar spike) floor plan up until the center stairs.
Near the end spend all the money (after getting Jagged Steel) on autoballista and put them under the bridges on either side. This will speed up the game and deal heavy damage to the Armored Ogres at the end, as with all the time the AI has spent pathfinding by now PAR should be readily closing. If necessary, place them earlier, be the judge of when is the best time to place them.
Lastly, watch for the Kobold Sappers at the 11th and 12th wave, they could easily break the map wide open if not prepared.
Waves
- (A) Orcs
- (B) Orcs
- (A&B) Kobold Runners, Crossbow Orcs & Orcs
- (A&B) Crossbow Orcs, Shield Orcs, 2x Gnoll Hunters
- (A&B) Kobold Runners, Shield Orcs
- (A&B) Shield Orcs, 2x Gnoll HuntersGo Break
- (A&B) Kobold Runners, Shield Orcs,
- (A&B) Shield Orcs & Crossbow Orcs (A) 1x Fire Ogre
- (A&B) Crossbow Orcs & Shield Orcs, 2x Gnoll HuntersGo Break
- (A&B) Shield Orcs & Crossbow Orcs
- (A) 3x Kobold Sappers (B) Kobold Runners (A&B)
- (A&B) Crossbow Orcs, 1x Armored Ogres, Shield Orcs (A) 5x Kobold Sappers (B) Kobold Runners
Go Break