
Guardians of Middle Earth – Evil Characters Guide
Welcome to the XBLA Fans GOME Evil Characters Guide. In this article, we’ll offer some invaluable usage tips which are specific to the evil Guardians which, if used in conjunction with our General Strategiies Guide, should enable even the greenest of recruits to become combat effective quickly.
Sauron
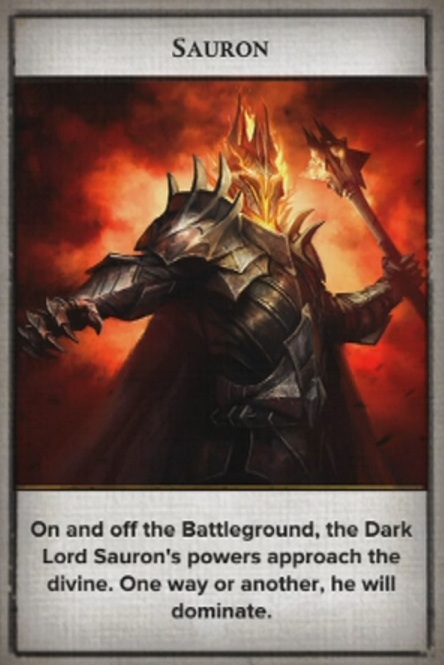
Sauron is a Warrior class Guardian who features a strong basic attack and extremely high durability. These cornerstone statistics, in conjunction with 3 fairly damaging abilities ensure that Sauron is always useful when pushing or holding a lane, because he can engage multiple foes at once with his ‘Might of Barad-Dur’ ability and base attack. ‘Dark Lord’s Reach’ is a great skill when facing a single, weak enemy Guardian, as it roots them and enables Sauron and his ally’s to hammer on the stricken foe. Any team which features a player who is using Sauron should be aware of the fact that his ‘The Lidless Eye’ ability damages ALL enemy Guardians for a small amount of health, meaning that when used it can immediately kill an enemy who is running very low. Use this to your advantage by calling out to your Sauron ally that there is an easy kill available for using his ultimate and remember to do so yourself, when called.
Sauron’s powers as a frontline combatant are further augmented by relic and gem sets which include health regeneration or increased max HP, or for maximum devastation and attack potency, ability power increase or cooldown reduction.
Witch-King
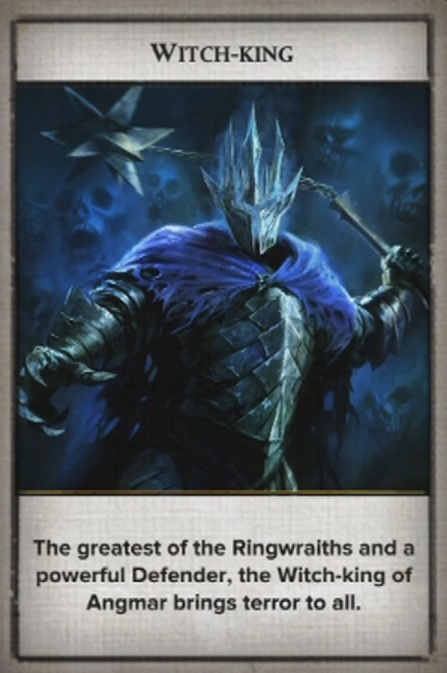
The Witch-King is a defender class Guardian who can not only stand toe-to-toe with most other Guardians, but can also inflict a number of status effect such as Taunt, Slow and occasionally Fear. When using the Witch-King, try to engage enemy Guardians singularly if possible and use the ‘Malice’ ability to inflict strong damage. Once the enemy runs, use the ‘Darkness’ ability to Taunt them back and deflect damage, then once that wears off, use ‘Despair’ which should Slow them for ample time to complete the kill. Should you have it available, then using ‘Death’ is a good tactic right before a kill, as eliminating an enemy Guardian whilst the effect is active will allow the Witch-King to summon a Wraith for 20 seconds.
The Witch-King can be used to play in many ways due to his decent combat skills and strong abilities, so use relic and gem sets which suit your style of gameplay. One recommended build is as a specialist in killing enemy Guardians, where ability power increase ensures that the Witch King’s taunt and slow effects are maximised to compliment his more general duelling abilities.
Gollum
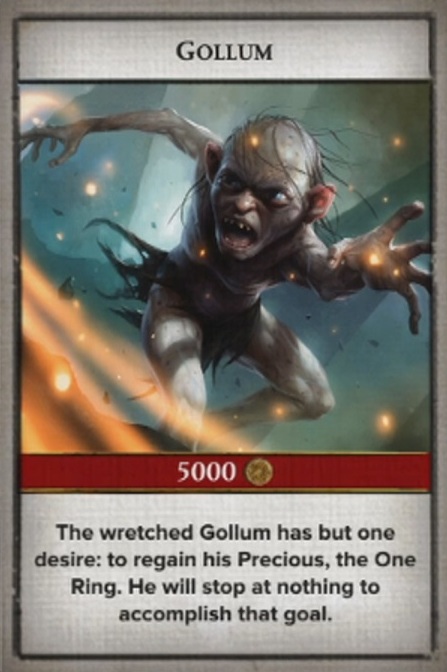
In GOME, Gollum is a much more fearsome prospect than he might first appear, with extremely high base damage, abilities which are more powerful than most and a decent amount of toughness if set up with the right relic and rune sets. When played with health regeneration or max hp relics, Gollum’s high basic attack allows him to stand in the lines of battle whilst remaining relatively safe, which is a unique among the Striker class in GOME. Use Gollum to clear enemy mobs by the bucket-load and to strike down enemy Guardians who stray away from safety. Gollum’s Throttle ability is useful early in battles as it causes some damage to enemy Guardian’s whilst at the same time, preventing them from using their own abilities due to its silence effect. Gollum’s next ability (We Are Starved) is a strange one because it causes both Gollum and his opponent to root, although Gollum does siphon health as well. This is useful really in one on one situations, as it effectively prevents anything else from happening between Gollum and his opponent, consequently it is therefore a terrible ability if being attacked simultaneously by other Guardians. Coward is an ability which removes effects like silence, fear or taunt from Gollum and at the same time, increases his movement speed. The clue is in the name – this ability is designed to help Gollum retreat from danger quickly. Gollum’s ultimate ability (My Precious) is often devastating against Guardians with low hp or those that are already hurt. At level 4, this ability causes 6x 90 damage, which is extremely significant and often deadly, especially considering that when a Guardian is killed in this way, Gollum gains stealth and the My Precious ability is immediately made available again.
Gollum has relatively low base health which can be increased by runes or relics, making him an effective tank due to his high base damage, but that’s certainly not the most fun way to use him. Instead, choose relics/runes which increase ability power as well as those which either regenerate or leech life from other Guardians and your Gollum build will be unstoppable in one on one combat.
Lugbol
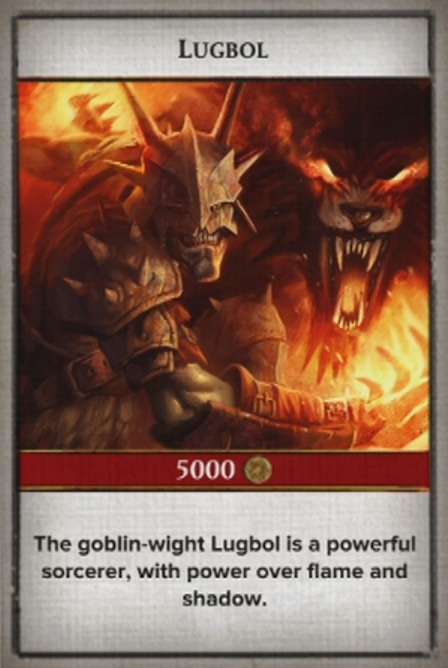
A popular choice on almost every battlefield, Lugbol is a devastating Enchanter who’s ability damage is matched only by his resistance to physical attacks, not to mention the appeal that comes from being the only Guardian who can summon a permanent ally to fight with him. Lugbol’s basic attack is abysmal, so it’s always useful to have Lugbol’s Ashen Wolf ability in play whenever in combat. The wolf’s initial attack taunts the enemy, drawing it away from Lugbol and buying valuable seconds for him to assault the foe with his other abilities. Fiery Grasp is Lugbol’s go-to ability during the early stages of every battle, causing a decent amount of damage whilst also having a useful knockup effect. Lugbol finishes his enemies with the Furious Flames ability which causes 5 bolts of flame to shoot out in front of him in a 90 degree arc, blinding his foes and causing a large amount of true damage. Lugbol also has the ability to heal a small amount of health, which he also saps from nearby enemies. This ability is called Snuff Them Out and although it is rarely effective offensively, it can be used to tip the scales slightly in Lugbol’s favor during a close toe to toe battle. Although his HP is quite low, Lugbol is an effective front-line spellcaster due to his high resistance to physical damage which works well with his wolf and other abilities.
Lugbol can be outfitted in a number of ways, but some of the most effective loadouts are those which reduce the cooldown time between abilities. This ensures that Lugbol remains combat useful as often as possible, because he is most vulnerable when without abilities. Other relics/gems to consider are those which increase HP or HP regen, as well as any which increase his resistance to damage even further.
Runsig
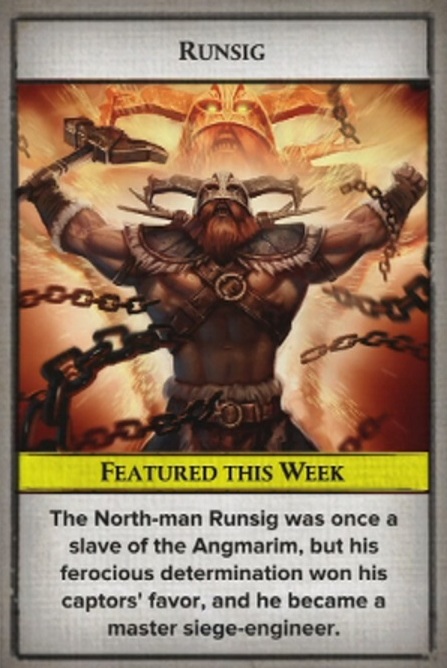
Runsig is an interesting character with a biography that describes him as a once enslaved Northman, who’s determination won the favor of his captors, thus enabling him to became a master Siege Engineer. In GOME, his role is absolutely focused upon supporting his allies, holding lines and even the boosting the AI mobs who frequent the battlefield. Runsig has slightly below average basic attack damage and no offensive abilities except his automated catapult, so bear this in mind when choosing him or setting up a build. This one offensive ability (Catapult of Angmar) allows Runsig to place a catapult on the battlefield which does moderate damage to enemies and persists for up to 35 seconds unless destroyed; although of notable benefit is the fact that these catapults can be stacked, so two may be in play at once for up to a maximum of around 10 seconds (depending on ability cooldown.) Runsig’s Forceful Call is a utilitarian ability that increases the movement speed of both allies and AI soldiers, whilst also affording allied Guardians (and Runsig himself) with a small health boost of up to 70 health for 3 seconds. Unbending is similar, but it encourages allied Guardians (and structures) to stand and fight, presenting a damage shield which can withstand up to 350 health for all those in range. Runsig’s ultimate ability – March of the Northmen – is perhaps most disappointing except for it’s useful root effect, which is unusually long at around 2.5 seconds. This ability increases the movement speed of allied Guardians by up to 100% and also increases attack speed by up to half, but what you will really want to use it for is to coordinate the rooting of all enemies in range with one of your more damaging allies. This ability makes Runsig something of an assist machine later in the game.
Runsig is hard to create a custom loadout for because players will need to either bolster his inherent weakness with basic attack damage runes/relics or otherwise focus on maintaining his toughness and resilience by using a high hp/regen build. It’s worth noting that Runsig’s March of the Northmen does NOT benefit from any ability boosting benefits, so his root effect can only ever be 2.5 seconds at most.
Wulfrun
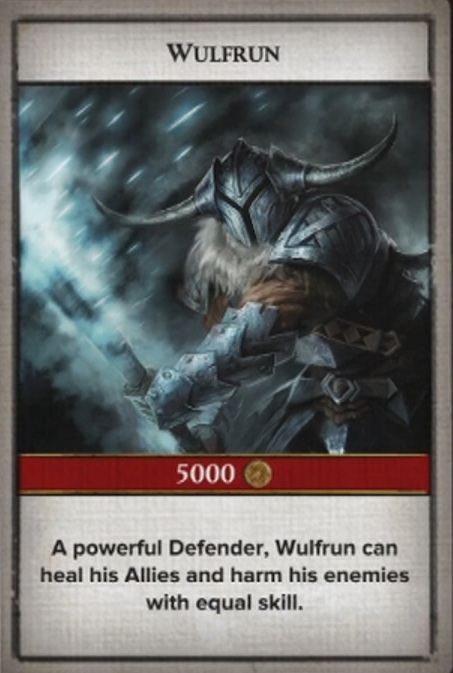
Although not a popular choice here at XBLA Fans, Wulfrun can be relied upon to stand beside allied Guardians and hold the line as well as any other character in the game. His survivability and resistance to damage are excellent, whilst his main offensive ability – Wretched Vapours – is perfect for pushing the enemy back or sometimes, right into trouble. Arcane Arts on the other hand is all about shielding both Wulfun and his allies from damage and in addition, it removes any controlling effects which makes it very useful for combat in crowded lanes or during a 1 lane battle. Defensive Chaos heals all nearby allies and is the most overt healing ability across all of the evil characters on the roster. When used in support of multiple, coordinated allied Guardians, Wulfrun’s ultimate ability – Dark Forces – can change the game in respect to holding or pushing a particular lane. This ability reduces the ability cooldown for all those in range, meaning that the enemy can often be pushed back by overwhelming force.
Like most characters in GOME, Wulfrun can make the most of various kinds of loadout, but due to his inherent survivability and the focus of his skills on healing or supporting others, a build which increases his basic damage, ability power and ability cooldown is most useful.
Felgrom
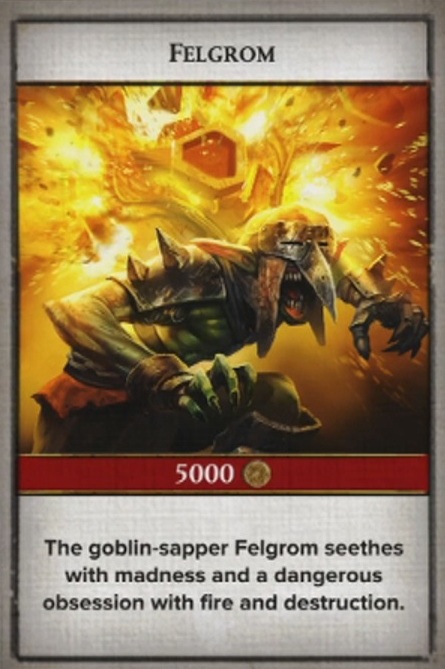
In the world of GOME, Felgrom is unique in as much as that he is the only character who possesses an ability which kills him when used. Yes, really. Despite that, Felgrom’s other abilities are actually very straightforward and although useful, they lack either the punch or powerful status effects which most other characters have. Felgrom’s most usable ability is Lob! which literally involves him throwing a grenade at his enemies for moderate damage and a useful, but short stun effect. His second ability is Trap! which is actually extremely useful because it persists on the map for a long time, can be stacked multiple times, and is only activated when an enemy moves over it. Unfortunately, Trap! is much less damaging that other, similar abilities (such as Hildifon’s Halfling Trap.) Burn! is Felgrom’s other starting ability, which is effectively a passive effect that causes both Felgrom and any nearby enemies to take constant damage until either Felgrom ends it manually (or dies.) The final (and much maligned) ability which Felgrom possesses is called Ka-Boom! causing Felgrom to arm the huge bomb on his back. Once he enters this state, the player must either charge him into an enemy, or else expect him to explode shortly thereafter. Unfortunately, Ka-Boom! does very little damage (considering the cost) and the player receives no concession to score penalty either, so Ka-Boom! really should be considered a last resort only.
If you must use him, set Felgrom up to deliver massive ability damage. He is likely to die often and because of Ka-Boom! you can control this fact to some extent anyway, so focus on placing as many traps as possible (ability cooldown) and increasing the damage caused wherever possible. Ka-Boom! is reasonably susceptible to ability power increases, so if you love causing chaos more than you like your kill/death ratio, feel free to go crazy!
Agandaur
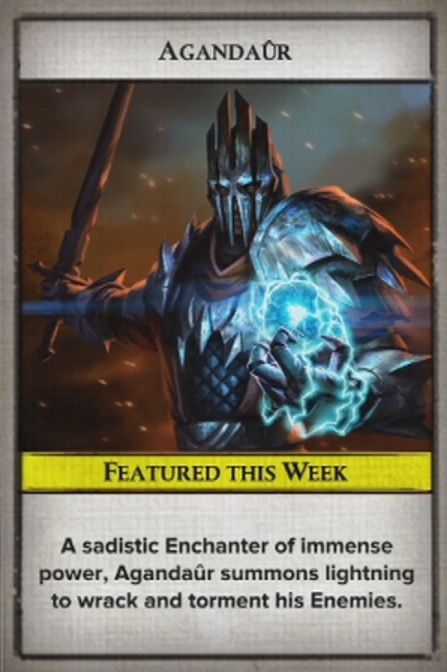
For anyone who likes to play the role of malevolent wizard, Agandaur offers the perfect choice of character in GOME. Whilst he is one of the weakest characters on the roster both in respect of health and basic attack strength, Agandaur’s brutally straightforward abilities will see him racking up kills in almost every game that he is present in. The backbone of Agandaur’s arsenal is the Overcharge ability, which does exactly what the name suggests – it powers up his other abilities. Use this ability whenever it is available, as once applied it does not expire until another ability is used. The main offensive ability for Agandaur (and one you will use a lot) is his Northern Bolt, which affects a sizable arc in front of him for strong ability damage, especially when overcharged. Should he need to retreat, Agandaur can use the Dark Assault ability, which is basically a teleport move which roots enemies who are passed through, enabling a hasty retreat. Agandaur’s final ability is the devastating Shockwave, which launches three waves of lightning across approximately a 90 degree arc in front of Agandaur, each of which is more damaging than the wave before it. This ability is an invaluable killing tool, especially when involved in a heated battle with multiple Guardians. Position Agandaur just behind your front line ally’s and unleash an Overcharged Shockwave to cause as many as 2-3 kills depending upon the circumstances.
At XBLA Fans, we love to set Agandaur up to do what he does best, by using relic and gem sets which increase ability power and reduce cooldown. Because of his low health, some HP regeneration gems are useful, but there is little or no point trying to boost Agandaur’s basic attack or HP, because they are so dismal to begin with.
Mozgog
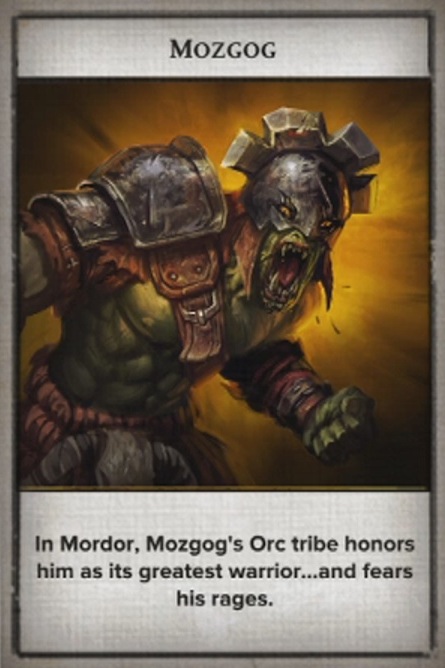
Mozgog represents the most natural front line combatant in the evil character roster, with more than decent survivability, excellent basic damage and 4 usable and well balanced abilities. The first of these is Mozgog’s Brutal Draught, which reduces health, but allows increased basic damage; it’s an excellent tactic to follow this immediately with Berserker Rage, which replaces some of that lost health and at the same time increases attack and movement speed. When stacked, these two abilities make Mozgog extremely damaging for a while, often with a higher movement speed than his (undoubtedly) fleeing enemies. Vile Taunt is also useful and enables Mozgog to apply the taunt effect on his enemies, whilst also reflecting some damage – another excellent tactic for preventing a beaten enemy from fleeing the battle. Mozgog’s ultimate ability is a fairly unexciting, but reasonably damaging area attack called Bloodied Bane. Because this ability causes fear, it is often most useful when an enemy actually has the upper hand over Mozgog, allowing him a moment to either regroup and press the attack, or to flee to a safe distance.
Loadouts which best benefit Mozgog are those which are based upon further enhancing his basic attack and health, over and above that which his abilities already provide. With this in mind, you should choose runes which regenerate HP, increase basic attack damage or allow any kind of health leech.
Gothmog
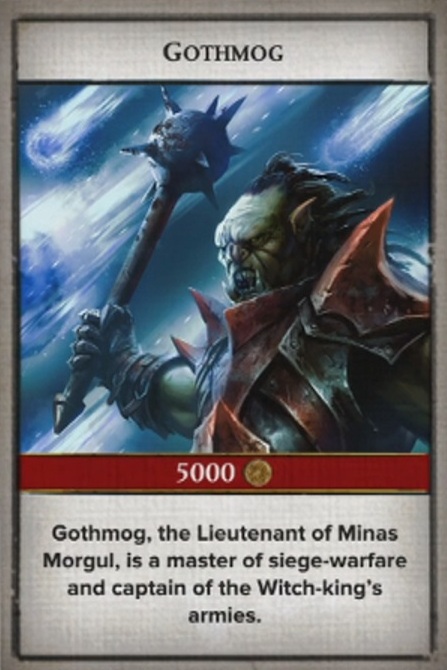
If Runsig is the perfect evil character for holding lanes, Gothmog is the equivalent with respect to pushing them forwards. Gothmog’s abilities make him able to overcome towers almost single-handedly, meaning he is an ever useful addition to any team of Guardians. His go to ability is the War-Machine, which see’s Gothmog constructing a useful, moderate damage trebuchet on the battlefield which fires at enemies and towers. Use this ability whenever battle is near and remember that like a Guardian, the War-Machine can be hidden in bushes. Grond’s Blow is another useful ability early on, but also one which can get Gothmog into trouble. It’s a rush attack which causes a knockup and stuns the enemy, but considering Gothmog’s modest fighting ability, it is best saved for a dead-certain kill, or else you might find yourself overstretched and outnumbered quickly. Black Land Banner is almost the opposite and when placed, draws all fire from enemy mobs and towers whilst it remains. This ability is exceptionally useful for when Gothmog has the opportunity to close on an enemy tower, because when supported by the AI or other Guardians, the tower can be down before the other team even realise it is under threat. Gothmog’s final ability – Rain Of Doom – is a dangerous area effect attack, which is especially useful for clearing enemies away from one of their towers, because it damages both. Play this in conjunction with Black Land Banner and Gothmog is capable of handling a tower even when it is defended by a Guardian.
When creating a loadout for Gothmog, consider his role as a lane pusher and increase his HP or use health regeneration, because keeping Gothmog on the front for as long as possible is always useful.
Ugluk
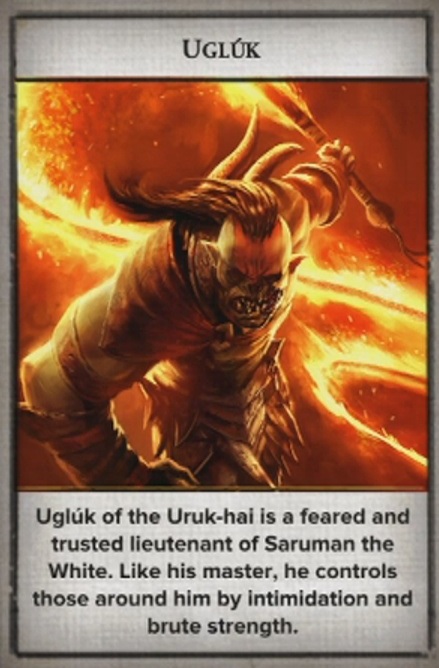
Like Mozgog, Ugluk is another frontline combatant who is perhaps slightly more suited to staying alive than he is to dealing damage to the enemy – although he is certainly capable of that too. His basic damage is about average, but his toughness and resistance are among the highest in the whole game, whilst his abilities include inflicting useful status effects on his enemies, as well as the ability to heal himself. Charge of the Uruk-Hai is likely to be a favourite, especially when facing a weakened opponent. This ability causes some damage, but roots the target enemy, whilst also causing fear to any other nearby Guardian. This ability is therefore Ugluk’s primary method of killing his enemies, especially early in the game or whenever a lane contains numerous enemy Guardians. White Hand’s Whip is another ability which is built around preventing enemies from escaping, due to the knockup and slow effects which it causes. Again, use this on weakened foes to press the attack. Like many characters, Ugluk also has a defensive ability in the form of his final ability, Fury of Isengard. This ability causes knockback to the enemy and is the most damaging of Ugluk’s attacks, so it can be used to either finish off a weakened enemy, or as a last ditch attempt to survive against a superior foe. Ugluk is also able to use the Orcish Medicine ability, which provides some health regeneration at the cost of attack speed.
Ugluk builds should either focus on his main strength (survivability) with HP increasing gems, or attempt to bolster either his abilities or basic attack, depending upon how you wish to play him. Here at XBLA Fans, we favor using him in a strong supporting role with increased ability power and cooldown reduction, because of the useful status effects which his abilities can inflict.