Dungeon Defenders Monk guide
The Monk
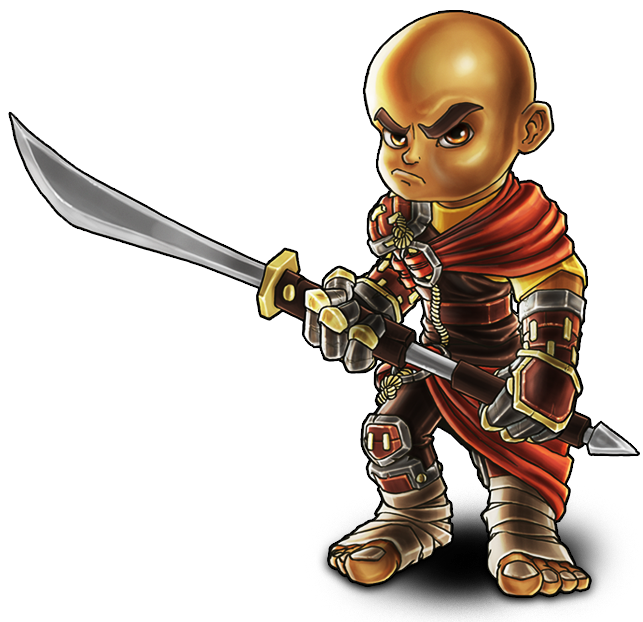
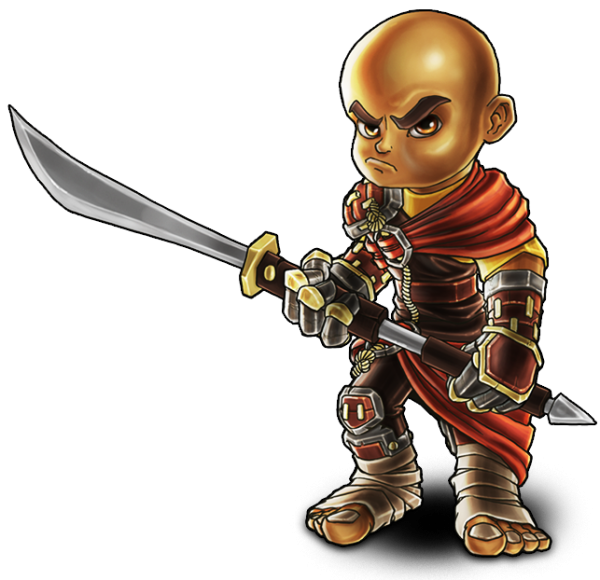
The Monk is the ultimate supporting role. Armed with a spear and his qi (chi), the Monk can take to the hordes with sweeping spear attacks or blast away at them with qi blasts, allowing him to remain versatile and flexible in the heat of battle. He doesn’t have the most health, or do the most damage, but he’s the best average there is when double coverage. If that wasn’t enough, his towers are in the form of auras. These auras cover a large area (an incredibly large area depending on how he’s built) and apply an effect over enemies in that radius for as long as they are inside it. The Monk’s ensnare aura, when potent enough, turns chaos into a beautiful (though rather slow paced) symphony, and his strength drain aura can turn a weak magic blockade into the wall of Troy, stopping even ogres from doing much damage to it. If that weren’t enough, his electric aura turns out massive electric damage, though since it’s elemental the Monk must be careful for electric resistant enemies, and his enrage aura turns some enemies against their companions. Oh, did we mention he has a massive healing aura? Yeah. The Monk’s got your back in every way possible.
Towers
- Ensnare Aura (30M) [2DU] – Slowmo is always the way to go, or not as the case may be. The Monk is the ultimate supporter, as we’ve said before, and due to how inexpensive this aura is, it should be in front of absolutely every choke point to give towers and heroes alike time to react to oncoming waves. This aura also helps with the wyvern defenses as it makes them easier to hit for harpoon turrets and gives players more time to notice and deal with them. Be careful as the ensnare trap is poison-type, meaning poison-resistant enemies will ignore its effects.
- Electric Aura (40M) [3DU] – Combine this aura with the ensnare aura (which totals to an inexpensive five DUs) for devastating effects. This aura makes the area in front of choke points into the most painful thing a goblin has ever experienced. It’s tempting to say that this aura and the lightning turret are the same, but chain lightning versus constant electric damage are indeed vastly different. For one, the electric aura is going to get far more kills and is way better for general defense, where-as the lightning tower is great for reaching high-value targets hiding in the back. Arguably, an electric aura will be preferable to the lightning tower in most situations if it’s big enough, but rest assured non electric-resistant enemies will be shocked to bits by it.
- Healing Aura (40M) [5DU] – A healing aura huh? Probably heals people. If that’s your guess, you’re right! How fortuitous. Healing auras are great for areas which need additional non-turret support or have bosses and ogres to deal with. Ultimately, they’re much slower than heal self, but they cost less and can affect multiple heroes at once without them stopping to heal. Ultimately a healing aura won’t make it onto every level, but they’re incredibly helpful for every boss fight.
- Strength Drain Aura (60M) [6DU] – Like the ensnare aura, the strength drain aura works as advertised and is incredibly useful. A potent enough strength drain aura can render an ogre nearly useless, and there isn’t much complaining to be done about that. However, unlike ensnare auras strength drain auras are expensive, so they can’t be used everywhere, and should be used in areas where the attacks are the most focused or where bosses and ogres come from. On top of that, they make fighting as a hero a lot easier, especially for heroes with low health. These auras are great when used in conjunction with Apprentice’s blockades which usually can’t last long.
- Enrage Aura (100M) [6DU] – Hm, what to do with this aura. Well, it’s got a very, very specific effect, and is smaller than the other auras, and way more expensive, but it’s not nearly as useful. Strange strategies will erupt from the use of this aura, that’s for sure. For one thing, it gets enemies to stand still, which is always a big plus, and it works on just about everyone, so a warrior passing through an enrage aura will go to town on its allies. Complex strategies may involve this aura, but it’s not generally applicable, though it is fun, and helps with soloing as the Monk since his only other form of damage is electric only.
Hero abilities
- Defense Boost (15M per second) – Ah, the defense boost and all its yellowy glowing goodness. This boosts defense stats of any towers, blockades, traps or auras in its range. It’s really straightforward, turn it on, it helps you out quite a bit, it even regenerates tower health. However, since it’s a toggle, it does eat mana, so only turn it on during boss fights, when faced with an ogre, or when an area is about to be breached.
- Hero Boost (15M per second) – It’s purple time with the hero boost! Most Monks won’t be using both boosts, but every monk should use one or the other. This does the same thing defense boost does but to heroes, making it great for boss fights and for going out in the field with another hero (or even solo) and taking on massive waves of baddies, or perhaps searching for mages. The Monk normally doesn’t get DPS as high as most classes, but a hero boosted Monk can be quite potent, even alone.
Weapon description and relevant stats
The Monk is a unique case when it comes to weaponry as he’s the only one who can do both melee and ranged attacks. It’s important to note when looking at weapon stats that elemental bonuses do not affect the ranged attack stats. That being said, ultimately having a weapon that’s good at only one style of combat won’t pan out too well, as a Squire has better melee and the Huntress will have better ranged attacks, so ideally look for good stats in both, and upgrade base damage rather than elemental damage. Along with that, small spears are really frustrating to use due to the fashion in which the Monk attacks, so try to find at least medium-sized spears.
There are no Monk specific stats, but the Monk, again, is the only one with both ranged and melee damage (don’t confuse the two). When it comes to armor, look for good resistances and physical damage resistance since the support Monk should be out and about supporting another player and that won’t happen if he’s dead. On top of that, having generally high hero abilities is really useful for the Monk since his abilities help constantly. Ultimately, a good spear has good damage for ranged and melee and the elemental stat really isn’t as big of a deal (unless the ranged stat is abysmal).
Challenge Loot
- Warping Core – Warp Stabilizer
- Zippy Terror – Wick Cutter
Boss Loot
- Laboratory (Level 4) – Spear of the Void
- Throne Room (Level 8 ) – Sword Test No. 8
- Summit (Level 12) – Dragon-Crested Glaive
- Glitterhelm (Level 13) – Firegrass Scythe
Hero build
- Samurai: health, damage, hero boost, speed – Yes, battle Monks! This Monk might not be able to slice and dice like the Squire but next to a Squire they’ll rip enemy forces to atoms. Since the Monk really shouldn’t be soloing in general, put bunches of points into the hero boost to make sure you’re still an asset in battle even next to a Squire or Huntress. Even if soloing, though, the hero boost does help the Monk himself. Beyond that, health and damage will be necessary to sustain throughout the hordes of enemies, especially when they get too close to use ranged attacks anymore. The Monk is strangely quick, so speed isn’t the biggest priority, but it is useful, especially when keeping up with other heroes while hero boosting.
- Priest: hero & defense boost, casting speed, speed – Yay, helpful Monks! Well they’re all helpful, it’s almost redundant. A Priest Monk does exactly what you might think, it keeps everything and everyone alive. Again, boosts are going to be central to the strategy here, defending points where the enemies are hitting hardest and where towers have taken the most damage. If the towers are fine, venture into the thick of it and keep allies alive.
Tower build
- Controller: aura strength, aura health, aura radius, casting speed- This one’s a ton of fun because the auras get gigantic. The Controller is all about making sure the auras are doing an awesome job and that they don’t die. Aura strength is the most important stat in any tower Monk, but having beefy auras keeps them around longer to ensure that they don’t have to be babysat as much, and the player is free to do what ever they’d like for the most part, checking up on the rest of the defense. This Monk is the way to play tower Monks, there isn’t much reason to play a tower-specific monk any other way. Defense boost might help, but ultimately you’ll want the auras to be able to stand on their own, and an aura with a lot of tower strength behind it is absolutely devastating. Especially a strength drain aura, which the Controller should use at least one of somewhere on every level along with profuse ensnare and electric combos.
Hybrid build
- Linesman: hero & defense boost, aura strength, casting speed: The ultimate front line defender, the Linesman Monk never sits back nor does he venture too far out, his home is where the blockades and auras are. This monk should always place the snare and electric aura combo in front of every blockade and run about making sure the towers are alive. When the towers are fine, use defense boost and hero boost to help allies or towers keep enemy forces at bay, especially during boss fights. Where other Monks might be off repairing, this Monk can shift focus to assisting in the fight against large creatures with his boosts.
- Protector: health, damage, hero boost, aura health: An unorthodox build, perhaps, but it’s a nifty one! The strategy for this build is to put auras all over the map and fight in them, which of course means less offensive towers. The idea here is for one ally with beefy blockades to start an initial base defense while all the other heroes go out and fight under strength drain, ensnare and healing auras. It might be a bit silly, but it definitely works, especially with a high DPS Squire and Huntress. Beware letting enemies crush the defenses, but there should be a player with really powerful towers, blockades and casting speed.


