Fez Cube Guide – Main Hub – Ruins Area
Welcome to the Ruins, called as such because there’s really no other distinguishing feature about them. Oh well. Let’s have at them, shall we?
First off, let’s go climb some things and get some stuff! The Ruins area is very, very basic. Somehow you were supposed to realize this when you chose to come here, hopefully first, but it’s a pretty walk-in-the-(ruins)park area.
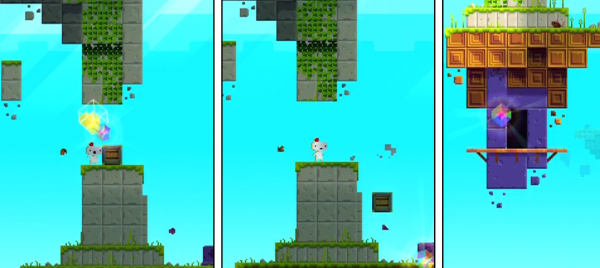
Make your way up to the first door with the box on top and the strange switch next to it. This here’s a pretty simply weight-switch puzzle, which we’re going to come back to after we collect all the bits. Caper your way across the vines and over the middle to drop down to the middle-bit which initially looks out of reach.
After you’ve grabbed everything off the top, climb back down the vines and onto the roof with the crate on it. Pick up the crate and toss it onto the purple switch. Doing this will open a door off to the side, which we’ll go through now.
Once inside, make your way to the main platform where you’ll notice another weight-switch. That must mean there’s a crate nearby! Well there is. Hop over to the crate and pick it up. Unlike the last puzzle we can’t just throw it all the way to the switch. On top of that, this crate is heavy, so Gomez can’t jump as high with as he normally could. As such, jump onto the first platform when it’s level with the other one. Then, wait for it to go up above the second platform, then jump onto the second platform. Once level, you should be able to toss the crate onto the main platform, pick up the crate and jump on the switch.
Cube – Doing this opens a door, going through which nets you a cube, but not before yet another weight switch puzzle. This one’s super easy though. Just grab the crate from behind the entrance then hop on one small pillar to the next and finally onto the switch. Head through the new door for a cube and a warp gate back to the Main Hub.
However, we’re not done in the Ruins, so we’re going to head back there. This time, we’ll go through the wooden door that was under the crate.
Through here we’ve got another place to climb all over and another door to go through.
Treasure Map – Before finishing up the area, just head through that door for an easy chest with a Treasure Map in it.
Back to the main area we’ve got a cube to get. Much like most of the Ruins, this place is all vines. Use your cunning and platforming skills to make it up here, you shouldn’t have much trouble. The trick to this place is all the 180* doors, but, as with any door, you just go through them and problem solved. Grab the cube at the top and call it a day. Take the warp gate back to the Main Hub, you’re done here for now.
!! – SPOILER ZONE – !!
Now that you’re at the top, perhaps you might notice the shape of this place looks a bit familiar, yes? Well if you haven’t looked at your treasure maps then no, it won’t look familiar. But if you have, you’ll note that the second treasure map corresponds to this place!
Anti-Cube Treasure – Not every treasure map is super cryptic, this one doesn’t have any symbols we have to decipher, so we can get straight into this. Get to the top of Ruins, and rotate the world to match the second treasure map. You can tell where it should be oriented by where the treasure chest’s island is. Note that the map is two sided, both of which have red marks in different spaces.
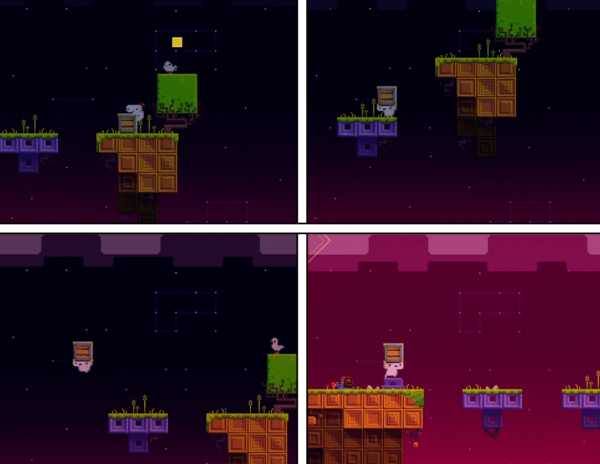
Each of these red marks is an invisible platform. Bum bum bummm! One is closer to the main island and one is closer to the treasure island. Let’s get started.
To make it to the treasure island, rotate the world such that the island is on the right. Get on top of the tree, then jump to the right as far as possible. You should land on the invisible platform. From this platform, you have to jump right again, but the immediately rotate 180*. Continue your jump in your new direction and you should land on the second invisible platform. Lastly, make it to the treasure chest for an anti-cube.

