
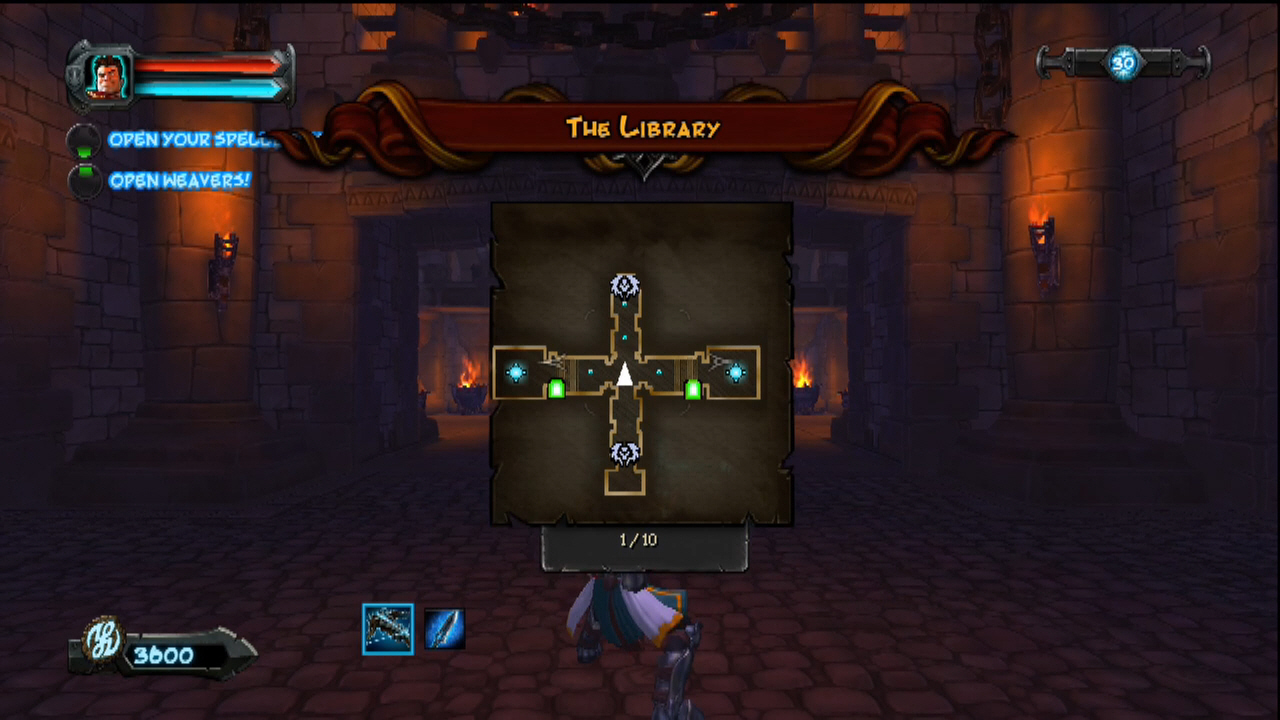
Orcs Must Die!: The Library (Level 16)

New weapon
Swinging Mace – 3×1 ceiling trap which deals massive damage to those caught beneath it.
Enemies
Orc Warriors
Crossbow Orcs
Kobold Runners
Fire Ogres
General survival skills
- Fully blocking off both rifts will result in one or the other set of blockades being attacked
- The north gate is farther away than the rear gate, but more enemies spawn there
- Don’t let Kobold Runners scurry too far or it could spell failure
- Most enemies from A (to the North) will go left for what ever reason (West)
- Upgrade the swinging mace before this level if possible
- Either work in the center with blockades, or attack the back and front paths independently
- Recipe for Fire Ogre death: Freeze, then shoot in head, repeat until death
Five skull guide
This level can be difficult, or it can be easy, and a lot of it comes down to player skill. Speaking of which, this is one of the few levels where going Elemental (or Knowledge, if you have it) Weaver might be best. For this guide though, we’re going with Knowledge Weaver for the trap kill mana return bonus and the spell kill money.
For the spellbook, bring the ice amulet for sure (fire ogres) and the lightning ring (if acquired, as it’s the best damage dealing weapon in the game) or the fire bracers. The first couple of waves should be spent setting up a blockade just behind (towards the center) the choke points along the northern route, forcing enemies into the wall blades that should be placed there (one in front of the lava cauldron map-traps, and one before the crossroads). Each ceiling (the one from the northern route and both leading to the rifts) should have swinging mace traps by the third Go Break. If possible, bring Paladins along as insurance if the spells are proving ineffective.
There’s a lot of turning around going on here, but if you’ve got the lightning AND the ice amulet this level should be easy. Gate A should be trapped up as quick as possible, use the lava cauldrons liberally (they’re denoted by lava puddles on the floor) in the early game to assist with the masses of orcs until both choke points can be properly established. The first attack at gate B is easy, just a fire ogre, use the freeze + headshot method to make quick work of them. Eventually (in two or three rounds worth of money) the back should be stopped off at the point where the path empties into the crossroads using wallblades and a BTS (brimstone, tar, spike) split by a blockade. Ultimately these trap setups won’t eliminate whole waves, so start every wave with either a firewall or lightning cloud at either entrance (check the wave breakdown for ideas as to which) and make sure not to get killed by ogres or let kobolds force you to stray from the center.
Waves
- (A) Archers
- (A) Orcs
- (A) Orcs (B) 1x Fire Ogre
- (A) Kobold Runners (B) Shield Orcs
- (A) Orcs, Archers (B) Archers, Orcs
- (A) Orcs (B) Orcs, OrcsGo Break
- (A) Orcs, Kobold Runners (B) 2x Fire Ogre
- (A) Orcs (Stream) (B) Archers
- (A) Archers (B) OrcsGo Break
- (A) 1x Fire Ogre & Crossbow Orcs, Orcs, Kobold Runners (B) Orcs, 1x Fire Ogre, Orcs
Go Break